
Quick answer: open the photo in Local Photo Upscaler, choose Upscale, check the output size the app shows, run it, compare with the slider, and save a new copy. Everything happens on the iPhone. Small photos get a full 4× in width and height; large ones are limited to about 17 megapixels.
Before you buy
Do you need more pixels?
Check your photo against the print you want. Enter its dimensions from Photos → Info. No photo upload, account, or purchase needed.
The interactive checker needs JavaScript. You can still use the pixel-to-print table and worked examples.
- Current print density
- ppi
- Image area cropped
- Enlargement needed
Pixel dimensions cannot tell whether a photo is sharp. Inspect faces and textures at 100%, and order a small test print before a large one.

What “4×” means
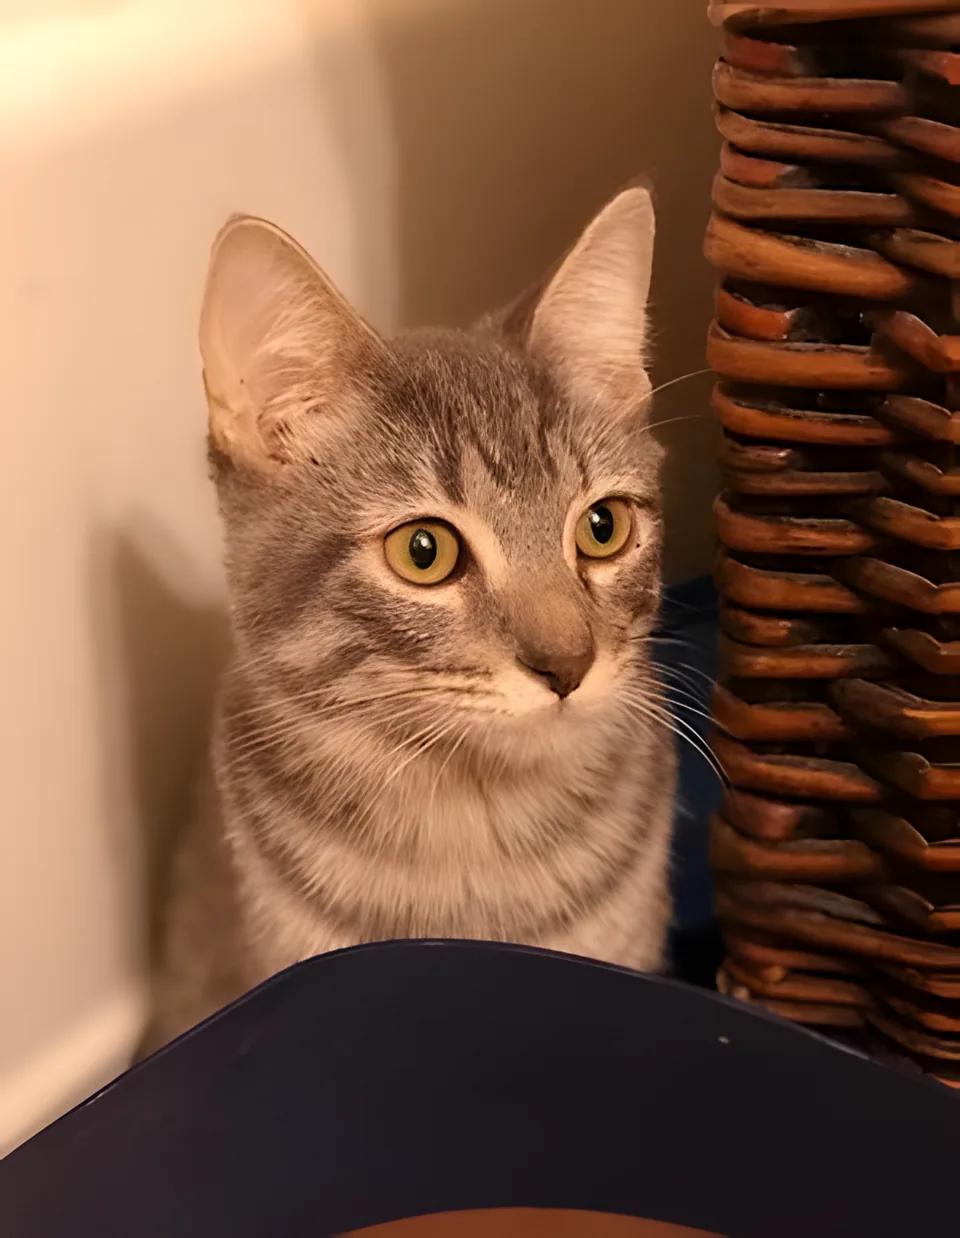
4× refers to each side. A 640 × 480 image becomes 2560 × 1920, which is 16 times as many pixels. A normal resize just spreads the existing pixels out, so the result looks soft or blocky. An AI upscaler predicts plausible edges and texture for the new pixels, which is why fur, foliage, and outlines look crisper in the example above.
The 17-megapixel cap, and why to crop first
To keep memory use safe on iPhone, output is capped at about 17 megapixels (roughly 4096 × 4096 for a square photo). The app scales anything above about 1 megapixel down before the 4× pass. On iOS 1.1.10, very large photos may be processed at a smaller size on devices with less memory. Check the actual finished dimensions; the examples below are not a guarantee for every device. In practice:
| Source | Output | Effective enlargement |
|---|---|---|
| 300 × 387 (0.1 MP) | 1200 × 1548 | Full 4× |
| 640 × 480 (0.3 MP) | 2560 × 1920 | Full 4× |
| 1024 × 1024 (1 MP) | 4096 × 4096 | Full 4× |
| 4032 × 3024 (12 MP iPhone photo) | about 4730 × 3550 | About 1.2× |
So for a full-resolution iPhone photo, upscaling the whole frame barely changes its size. Crop to the subject in Photos first, for example a face in a group shot or a sign in a street scene, and then upscale that crop. The app says “Size limited” when the cap applies.
Step by step
- Crop in Photos if the image is large and you only need part of it.
- Open Local Photo Upscaler and choose the photo.
- Pick Upscale. Check the output size shown under the image.
- Tap Upscale and wait; larger outputs take longer on older devices.
- Drag the comparison slider and zoom in on edges and textures.
- Save the result as a new copy in Photos, or discard it.
When upscaling will not help
- Heavy blur: the model enlarges what is there. A blurry photo becomes a larger blurry photo.
- Tiny text: letters that cannot be read in the source may come out as convincing but wrong shapes.
- Screenshot of a screenshot: repeated compression leaves blocky artifacts the model may sharpen.
If the photo is grainy, run Denoise before upscaling. Planning a print? See the print size guide.